Heres my most recent suspension
change; Bilstein SPs with JCW springs.

Ill save the evaluation for later, right now is the
installation story. The only thing I had known about these struts previously
was their reputation for stiffness (and they are), after my first attempt
installing the front struts, I learned about their steering knuckle
insertion obstinacy. This couldnt happen at a
worst time with a storm approaching and a strut stuck in the knuckle I had to
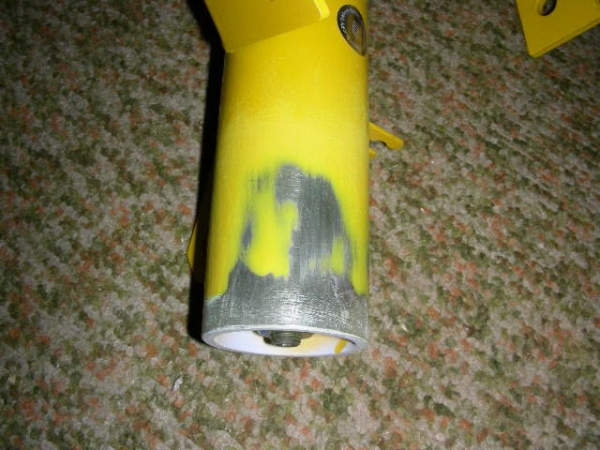
go Neanderthal on them. After the Bilstein was extracted I took measurements (Bilstein 52.4mm
diameter, Stock 52mm), paint had to be removed from the base to get it
started and more paint removed from certain areas.
Once again it became lodged and wouldnt budge with
help from chisel or pry bar. By now the storm had arrived and time had run
out. I discovered neither a spring compressor nor assistant is needed to remove
and install JCW springs; even without an adrenalin overload.
I began to plan for the next attack on the install and found this was not an
isolated occurrence. Unfortunately it was the first MINI specific sale by the
distributor I purchased through so it was a learning curve for both of us.
After receiving a few tips and a vague tool suggestion by Bilstein (couldnt get the Facom tool in the U.S. from a conventional source),
I found an alternative tool and thought I was prepared to try again. More paint came
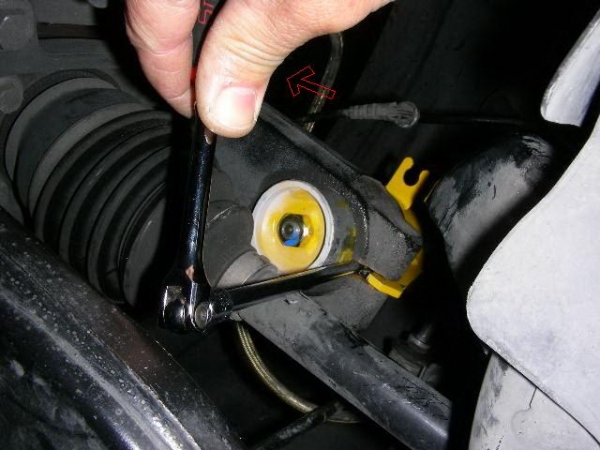
off and I tried a BMW suspension spreader (socket with nub, insert and turn
90 degrees), but no luck, so it was time to get aggressive with a drum
sander.
I polished the surface with various grades of emery paper and put the
spreader back in.
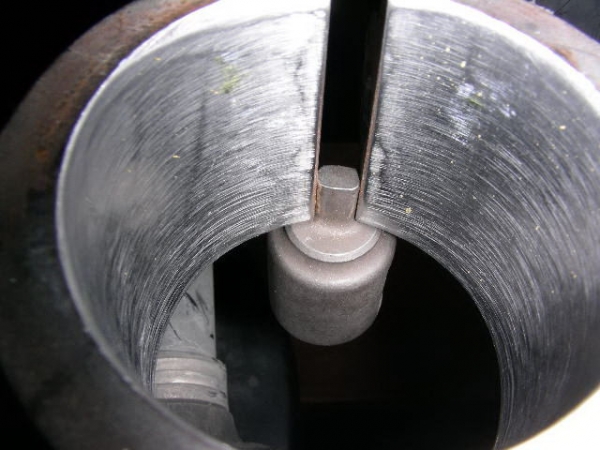
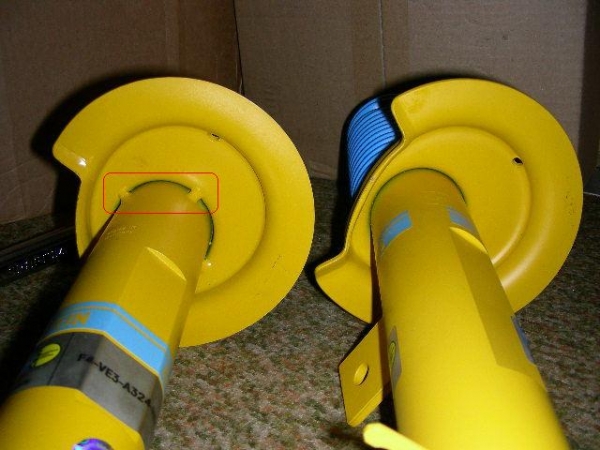
In the mean time I made more observations, notice the welds under the spring
perch on the troublesome right front strut (on the left), it had a silver
sticker too; I wonder if its a rebuild with two coats
of paint. The drivers side strut also had a smaller
diameter of 52.1mm so I thought I would get a break on installing that strut.
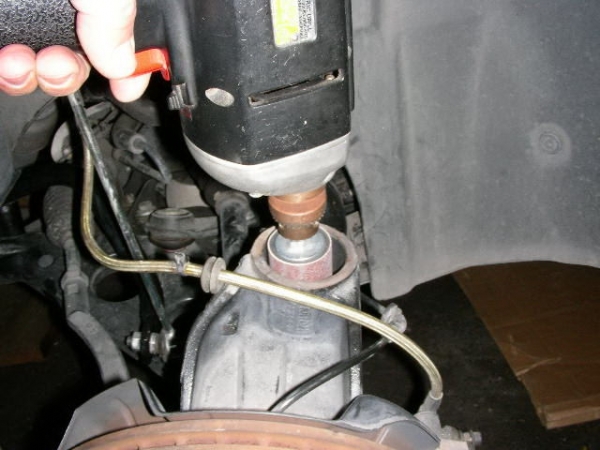
With the hole in the steering knuckle reamed out, the spreader in place, and
both surfaces smeared with anti-seize, in goes the strut. An inch down the
BMW spreader falls out because the strut has widened it further. Bilstein had
suggested a ¼ inch drive (insert and turn 45 degrees) to spread the gap but
before it wouldnt fit, now it did and that helped
inch it in. I dont know how the strut will ever come out again because there
also was a jack lifting from below (completely lifting the vehicle) and I was
applying force to the chassis from above (ProMinis suggestion).
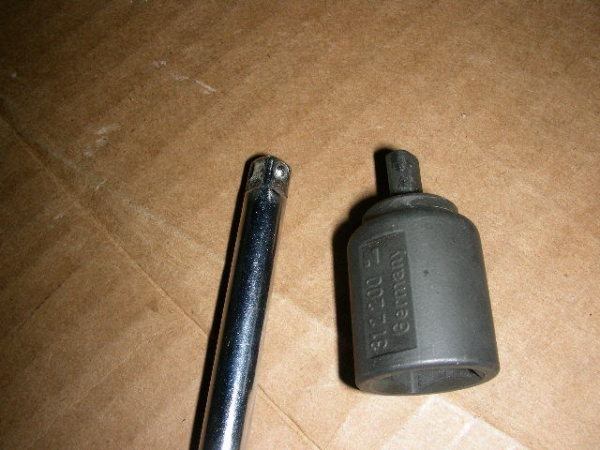
Heres a close-up of the two suspension spreaders, the
shade tree version on the left and BMW's on the right.
The drivers side only required a polishing
with a fine grit drum sander & emery paper, plus a little edge dressing with a
file to prep, more anti-seize, the BMW spreader, the jack from below, and me
bouncing on the chassis.
Here are some fun facts. Bilstein designs in some fluid seepage to keep the
swipe moist. I think the leakage is excessive on one of the fronts (no photo)
but it was suggested to install any way to see if it will moderate later.
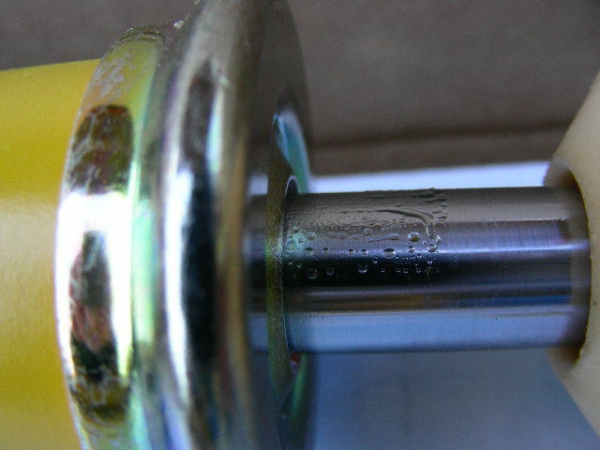
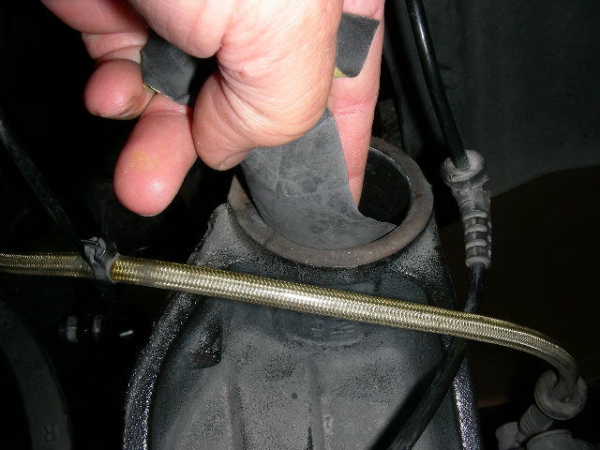
See how large the shaft is on the front strut.
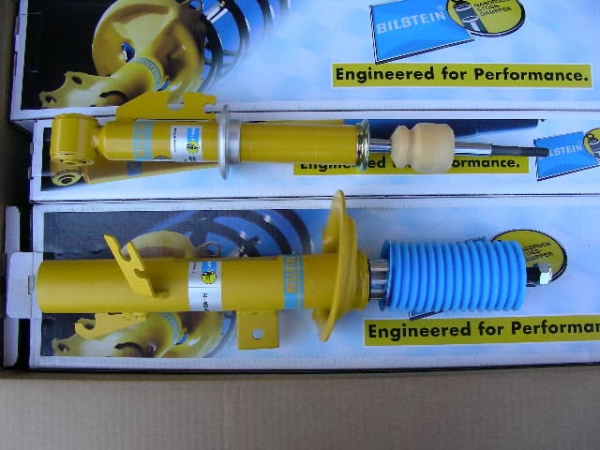
Thats because the piston is in the shaft and its really an
upside down design, with the bump stop incorporated within the lower body. The rear
shafts are larger also. The rear spring perch is 5mm lower than stock and the
fronts are 7mm lower; now that the fronts are on, the
forward rake Im so fond of has returned.